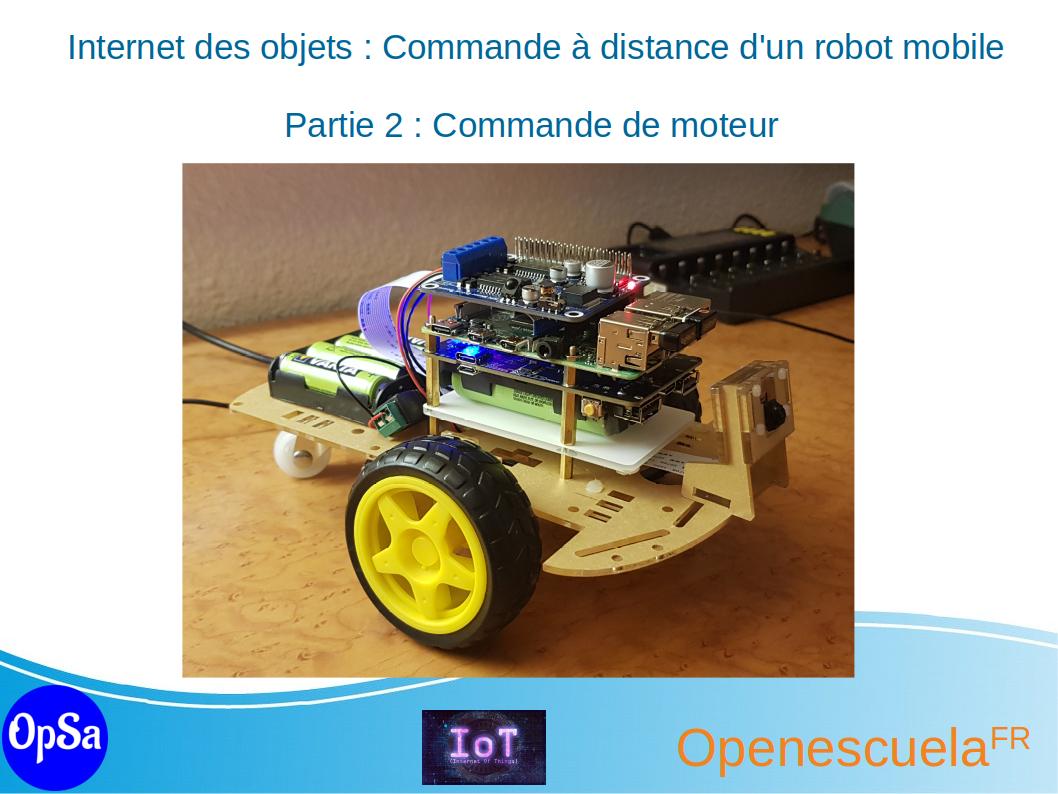
In this training, you will learn the basics of the Internet of Things. In this tutorial, you will learn how to remotely control a mobile robot based on a Raspberry Pi board. In this part, you will learn how to control the motors of the robot.
MotorDriver class:
import RPi.GPIO as GPIO
import time

class MotorDriver(object):

    def __init__(self):

        self.PWMA1 = 6
        self.PWMA2 = 13
        self.PWMB1 = 20
        self.PWMB2 = 21
        self.D1 = 12
        self.D2 = 26

        self.PWM = 50

        GPIO.setmode(GPIO.BCM)
        GPIO.setwarnings(False)
        GPIO.setup(self.PWMA1, GPIO.OUT)
        GPIO.setup(self.PWMA2, GPIO.OUT)
        GPIO.setup(self.PWMB1, GPIO.OUT)
        GPIO.setup(self.PWMB2, GPIO.OUT)
        GPIO.setup(self.D1, GPIO.OUT)
        GPIO.setup(self.D2, GPIO.OUT)
        self.p1 = GPIO.PWM(self.D1, 500)
        self.p2 = GPIO.PWM(self.D2, 500)
        self.p1.start(50)
        self.p2.start(50)

    def set_motor(self, A1, A2, B1, B2):
        GPIO.output(self.PWMA1, A1)
        GPIO.output(self.PWMA2, A2)
        GPIO.output(self.PWMB1, B1)
        GPIO.output(self.PWMB2, B2)

    def forward(self):
        self.set_motor(1, 0, 1, 0)

    def stop(self):
        self.set_motor(0, 0, 0, 0)

    def backward(self):
        self.set_motor(0, 1, 0, 1)

    def left(self):
        self.set_motor(1, 0, 0, 0)

    def right(self):
        self.set_motor(0, 0, 1, 0)


if __name__ == "__main__":
    robot = MotorDriver()
    dc = 40
    while True:
        robot.p1.ChangeDutyCycle(dc)
        robot.p2.ChangeDutyCycle(dc)
        robot.forward()
        time.sleep(3)
        dc += 10
        if dc > 100:
            break
    robot.stop()
    GPIO.cleanup()
KeyBoard control script
from motordriver import MotorDriver

import curses

robot = MotorDriver()

actions = {
    curses.KEY_UP:    robot.forward,
    curses.KEY_DOWN:  robot.backward,
    curses.KEY_LEFT:  robot.left,
    curses.KEY_RIGHT: robot.right,
}

def main(window):
    next_key = None
    while True:
        curses.halfdelay(1)
        if next_key is None:
            key = window.getch()
        else:
            key = next_key
            next_key = None
        if key != -1:
            # KEY PRESSED
            curses.halfdelay(3)
            action = actions.get(key)
            if action is not None:
                action()
            next_key = key
            while next_key == key:
                next_key = window.getch()
            # KEY RELEASED
            robot.stop()

curses.wrapper(main)





0 comment