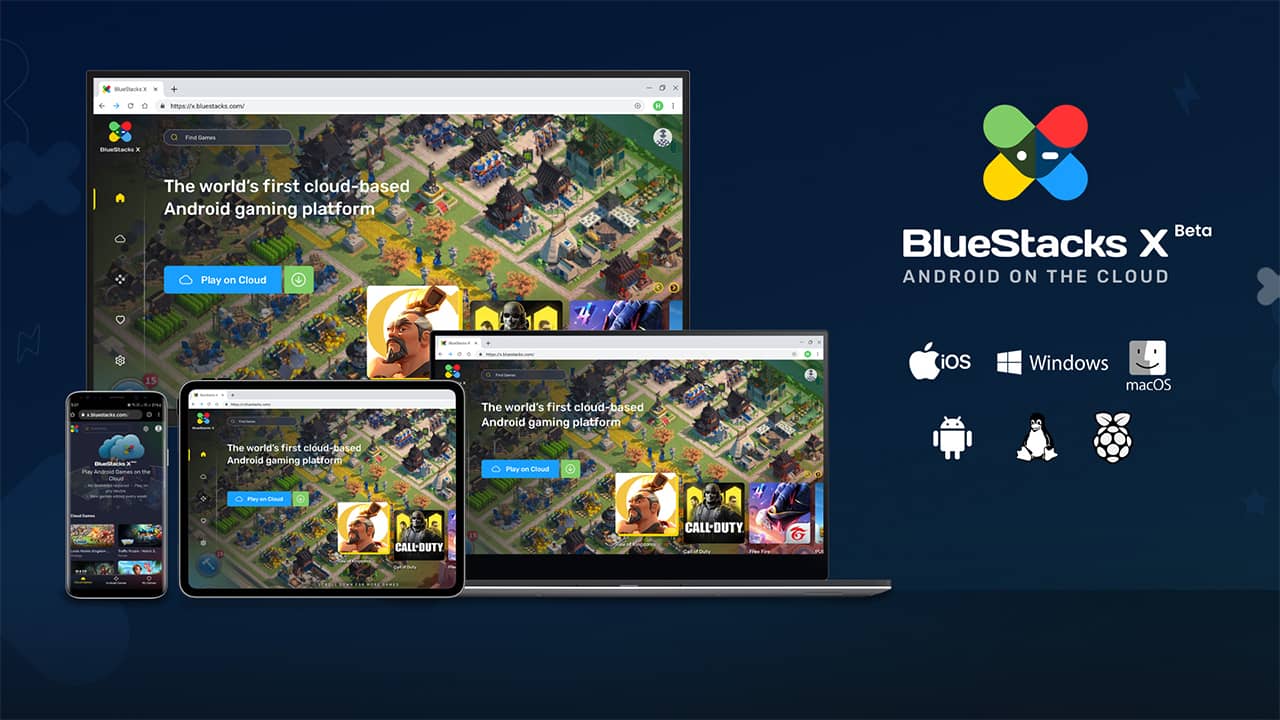
Launched in 2014, BlueStacks is now one of the most widely used Android emulators on the market. And best of all, it's free and easy to configure. Its custom interface lets you launch apps and switch between emulation settings for the best user experience. Gamers, in particular, love BlueStacks for its unique gaming capabilities. It has built-in mouse and keyboard mappings, allowing you to customise touch controls for each of your Android games. Plus, you can also stream apps and games directly from the BlueStacks window if your PC has at least 8GB of RAM and you have a Twitter or Facebook social media account.
To install BlueStacks on your device, follow these steps:
- Go to the BlueStacks website and run the installer by clicking on "Download BlueStacks".
- Double-click on the BlueStacks installer.
- Once the download is complete, click on the installer application in the lower left corner of your screen. You may need to open your download folder if it is not there.
- Once the installation is complete, a new window will open. Click "Finish" to launch the application.
- Enter your Google Account credentials to sign in and create your account. This login information will be required every time you sign in to the Google Play Store to retrieve your library of apps.


0 comment